When considering garden pond installation, one of the most common questions homeowners ask is, "How long will it take?" The answer, however, is not straightforward. Several factors can significantly influence the time required for installation, making it essential to understand these elements before embarking on your pond project. From the size of the pond to the complexity of the design and even the specific conditions of your site, each aspect plays a crucial role in determining the overall timeline. The size of your garden pond is perhaps the most obvious factor affecting installation time. A small, simple pond may take just a few hours to install, while a larger, more elaborate design could require several days or even weeks.
Additionally, if you plan to incorporate features such as waterfalls, lighting, or intricate landscaping, these will add to the complexity and duration of the project. Furthermore, the site conditions—including soil type, drainage issues, and existing vegetation—can also impact how quickly you can complete your installation. Understanding these variables is crucial for setting realistic expectations for your garden pond project. By assessing your specific situation and planning accordingly, you can ensure a smoother installation process and enjoy your new aquatic oasis sooner rather than later. Whether you're dreaming of a tranquil retreat or a vibrant focal point in your landscape, knowing what influences pond installation time will help you navigate this rewarding endeavor with confidence.
Planning Your Garden Pond Installation
Before diving into the actual garden pond installation, careful planning is essential to ensure a smooth process and a successful outcome.The first step in this planning phase is to consider the design of your pond. Think about the size, shape, and depth that will best suit your garden space and aesthetic preferences.
Design Considerations:
- Size: Determine how large you want your pond to be. A larger pond may require more time and resources for installation.
- Shape: Decide whether you prefer a naturalistic shape or a geometric design. Natural shapes often blend better with gardens.
- Depth: Consider the depth based on the types of fish or plants you wish to include.
Deeper ponds may require additional excavation time.
Pre-Installation Steps:
- Check Local Regulations: Before starting, verify if there are any local regulations or permits required for pond installation.
- Gather Materials: Compile all necessary materials such as liners, pumps, and filtration systems. Having everything ready will streamline the installation process.
- Prepare the Site: Clear the area of any debris, rocks, or vegetation that may hinder the installation.
Step-by-Step Process of Installing a Garden Pond
Installing a garden pond can be a rewarding project that enhances your outdoor space.Here’s a detailed breakdown of the garden pond installation process to help you navigate each step effectively.
- Planning and Design: Begin by selecting the location for your pond. Consider factors such as sunlight, proximity to trees, and visibility from your home. Sketch a design that includes the shape and size of the pond, as well as any additional features like waterfalls or plants.
- Gathering Materials: Once you have a plan, gather all necessary materials. This typically includes a pond liner, underlayment, rocks, a pump, and any decorative elements you wish to include.
- Excavation: Mark the outline of your pond on the ground using stakes and string.
Begin digging according to your design, creating varying depths if you plan to include fish or aquatic plants. Ensure the edges are smooth and even.
- Installing the Liner: Lay down the underlayment to protect the liner from sharp objects. Then, carefully place the pond liner into the excavated area, ensuring it fits snugly against the contours of the hole.
- Adding Water: Fill the pond with water slowly to allow the liner to settle into place. As you fill it, adjust any wrinkles in the liner for a smooth appearance.
- Landscaping: Once filled, add rocks around the edges to secure the liner and create a natural look.
You can also incorporate plants both inside and around the pond for added beauty and ecological balance.
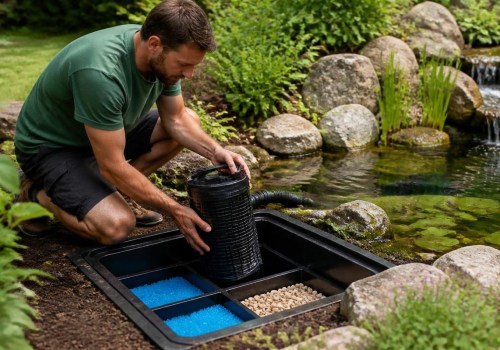
- Installing Equipment: Set up any necessary equipment such as pumps or filters. This is crucial for maintaining water quality and ensuring a healthy environment for fish and plants.
- Final Touches: After everything is in place, take time to adjust any features and ensure everything is functioning correctly. Consider adding lighting or decorative elements to enhance your pond's aesthetic appeal.
Common Challenges During Garden Pond Installation
Installing a garden pond can be a rewarding project, but it often comes with its own set of challenges.Being aware of these potential issues can help you prepare and troubleshoot effectively.
Site Selection
is one of the first hurdles you may encounter. Choosing the right location for your pond is crucial. Look for a spot that receives a balance of sunlight and shade, as too much sun can lead to algae growth, while too much shade can hinder plant growth. Additionally, ensure the area is free from overhanging branches that could drop debris into the pond.Water Quality
is another common challenge.After installation, maintaining clear and healthy water can be tricky. You may need to invest in a filtration system to keep the water clean and clear. Regular testing for pH levels and other chemical balances is essential to prevent fish and plant health issues.
Leakage Issues
can also arise during or after installation. If you notice water levels dropping unexpectedly, it may indicate a leak in the liner or at the seams.To troubleshoot this, check for visible holes or tears in the liner and use a patch kit specifically designed for pond liners to seal any leaks.
Plant Selection
poses its own set of challenges. Not all aquatic plants thrive in every environment. Researching which plants are suitable for your climate and pond conditions will save you time and effort in the long run. Consider factors such as water depth, sunlight exposure, and whether you want floating, submerged, or marginal plants. Lastly, wildlife interference can be an unexpected challenge.Birds, raccoons, and other animals may be attracted to your pond for food or shelter. Installing barriers or using netting can help protect your pond from unwanted visitors. By anticipating these common challenges during garden pond installation, you can create a more enjoyable and successful experience.
Time Estimates for Different Types of Garden Ponds
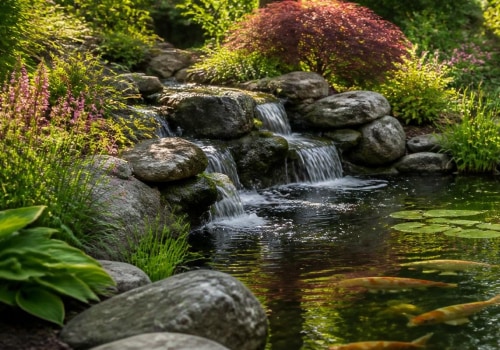
When considering garden pond installation, the time required can vary significantly based on the type of pond you choose to create. Below, we break down the estimated installation times for different types of garden ponds, including koi ponds and wildlife ponds.Koi Pond Installation Time
Installing a koi pond typically takes longer than other types of ponds due to the specific requirements for fish health and aesthetics. On average, you can expect the installation process to take:- Small Koi Ponds: 1 to 2 days
- Medium Koi Ponds: 3 to 5 days
- Large Koi Ponds: 1 to 2 weeks
Additionally, if you plan to include features like waterfalls or lighting, this may extend the installation time further.
Wildlife Pond Installation Duration
Wildlife ponds are generally simpler to install compared to koi ponds, as they do not require as much filtration or water quality management. The estimated time for installing a wildlife pond is:- Small Wildlife Ponds: 1 day
- Medium Wildlife Ponds: 2 to 3 days
- Large Wildlife Ponds: 4 to 7 days
Maintenance Considerations Post-Installation
Once your garden pond installation is complete, the journey doesn’t end there.Proper maintenance is crucial for ensuring the longevity and enjoyment of your pond. Understanding the time and effort required for post-installation care can significantly enhance your experience.Regular Maintenance Tasks
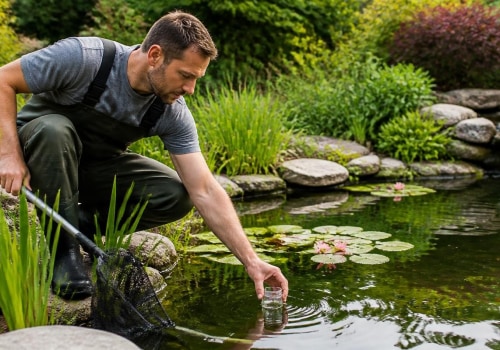
- Water Quality Management: Regularly test the water for pH levels, ammonia, and nitrate concentrations. This should be done at least once a week, especially during warmer months when algae growth can spike.
- Cleaning: Remove debris such as leaves and twigs from the pond surface and bottom. This task can take about 30 minutes to an hour weekly, depending on the size of your pond.
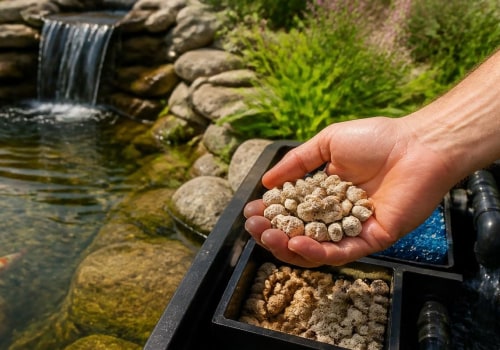
- Filter Maintenance: Clean or replace filters as needed, typically every 4-6 weeks.
This ensures that your pond's ecosystem remains balanced and healthy.
- Plant Care: Trim aquatic plants to prevent overgrowth and maintain aesthetics. This can be done monthly or as needed.
As autumn approaches, be diligent about removing fallen leaves to prevent decay in the water. In winter, if you live in a colder climate, ensure that your pond is aerated to prevent freezing. By dedicating time to these maintenance tasks, you not only preserve the beauty of your garden pond but also create a thriving habitat for fish and plants. Ultimately, understanding these post-installation care needs will lead to a more enjoyable and sustainable pond experience.
Frequently Asked Questions About Garden Pond Installation Time
When considering garden pond installation, many homeowners have questions about the time it takes to complete the project. Here are some frequently asked questions regarding the timeline for installing a garden pond:- How long does it typically take to install a garden pond?
The installation of a garden pond can take anywhere from a few days to a couple of weeks, depending on various factors such as the size of the pond, the complexity of the design, and the materials used.A simple pre-formed pond may be installed in just one day, while a larger, custom-designed pond with landscaping features could take several days or even weeks to complete.
- What factors influence the installation time?
Several factors can affect how long it takes to install a garden pond, including:- The size and depth of the pond
- The type of materials used (e.g., liner vs. pre-formed)
- The complexity of the design (e.g., waterfalls, lighting)
- Weather conditions that may delay work
- Availability of labor and resources
- Can I install a garden pond myself?
Yes, many homeowners choose to install their own ponds. If you have some DIY experience and follow proper guidelines, you can complete a basic installation in a weekend. However, for more complex designs or larger ponds, hiring professionals may save time and ensure quality. - What is the best time of year for garden pond installation?
The ideal time for installing a garden pond is during the spring or fall when temperatures are moderate.This timing allows for better plant establishment and minimizes stress on aquatic life.